Quince Jelly
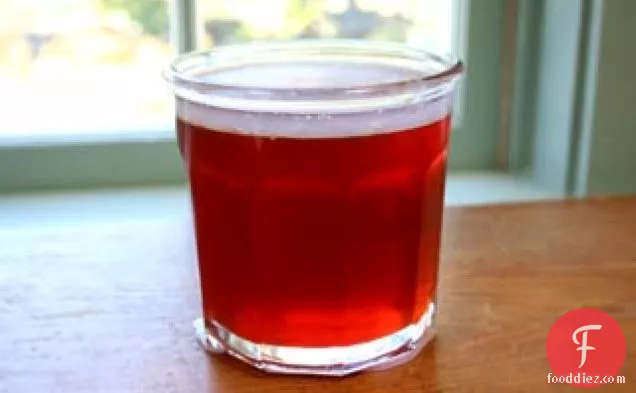
Quince Jelly requires approximately approximately 45 minutes from start to finish. For 88 cents per serving, you get a condiment that serves 40. One portion of this dish contains roughly 0g of protein, 0g of fat, and a total of 40 calories. A mixture of quince, water, enough sugar to add almost a cup of sugar ), and a handful of other ingredients are all it takes to make this recipe so yummy. It is a good option if you're following a gluten free, dairy free, lacto ovo vegetarian, and fodmap friendly diet. Kid Pleasin' Fried Chicken and Quince Jelly over Macaroni and Cheese and Mashed Potatoes, Quince Apple Strudels with Quince Syrup, and Glazed Peanut Butter and Jelly Doughnuts…with Strawberry-Rhubarb Chia Jelly are very similar to this recipe.
Instructions
2
1 Cover quince with water: Put quince pieces in a large stockpot with a thick bottom and add water (if you are eyeballing it, put in enough water to cover the pieces of quince by about an inch.)
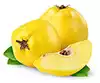
Ingredients you will need![Quince]() Quince
Quince![Water]() Water
Water
Equipment you will use![Pot]() Pot
Pot
3
2 Cook quince until soft: Bring to a boil, reduce heat to simmer, cover and cook for 45 minutes to an hour, until the quince pieces are soft.
Ingredients you will need![Quince]() Quince
Quince
1
Place a metal strainer over a pot. Drape 2 layers of cheesecloth over the strainer. (Can skip the cheesecloth if you are using a fine mesh strainer). Ladle the pulp into the cheesecloth. You may need to have two strainers set up this way.
Equipment you will use![Sieve]() Sieve
Sieve![Cheesecloth]() Cheesecloth
Cheesecloth![Ladle]() Ladle
Ladle![Pot]() Pot
Pot
2
Let the pulp strain for 3 to 4 hours. If you aren't getting enough juice out of the pulp, you may need to mix more water into the mash.
Ingredients you will need![Juice]() Juice
Juice![Water]() Water
Water
4
Add sugar: Measure the amount of juice you have. Should be about 4 to 5 cups.
Ingredients you will need![Juice]() Juice
Juice![Sugar]() Sugar
Sugar
5
Pour the strained quince juice into a thick-bottomed pot on the stove and bring to a boil. Measure out the sugar - a little less than a cup for every cup of juice.
Ingredients you will need![Quince]() Quince
Quince![Juice]() Juice
Juice![Sugar]() Sugar
Sugar
Equipment you will use![Stove]() Stove
Stove![Pot]() Pot
Pot
8
6 Bring to a boil: Bring to a boil, initially stirring constantly, until the sugar is dissolved, so that the sugar does not stick to the bottom of the pan. Insert a candy thermometer to monitor the jelly temperature.
Ingredients you will need![Candy]() Candy
Candy![Jelly]() Jelly
Jelly![Sugar]() Sugar
Sugar
Equipment you will use![Candy Thermometer]() Candy Thermometer
Candy Thermometer![Frying Pan]() Frying Pan
Frying Pan
9
7 Skim foam: As the jelly cooks, skim off the foam that comes to the surface with a spoon.
Ingredients you will need![Jelly]() Jelly
Jelly
10
8 Sterilize jars: As the jelly is boiling, sterilize your jars for canning. (See section below on canning.)
Ingredients you will need![Jelly]() Jelly
Jelly
11
9 Look for the set point: As the temperature rises above the boiling point of water (212°F), you will notice the consistency of the jelly/juice begins to change. When the temperature is approximately 6 to 8 degrees higher than boiling point at your altitude (anywhere from 218°F to 220°F at sea level) the jelly is ready to pour into jars. (Quince has so much pectin, it can set earlier than other types of jellies.)
Ingredients you will need![Gummies]() Gummies
Gummies![Pectin]() Pectin
Pectin![Quince]() Quince
Quince![Jelly]() Jelly
Jelly![Juice]() Juice
Juice![Water]() Water
Water
12
Left: Jelly is too runny. Right: Jelly is wrinkling when pushed, which means it's ready.
Ingredients you will need![Jelly]() Jelly
Jelly
13
Note that candy thermometers aren't always the most reliable indicators of whether or not a jelly is done. Another way to test is put a half teaspoonful of the jelly on a chilled (in the freezer) plate. Allow the jelly to cool a few seconds, then push it with your fingertip. If it wrinkles up, it's ready.
Ingredients you will need![Candy]() Candy
Candy![Jelly]() Jelly
Jelly
15
10 Sterilizing jars: There are several ways to sterilize your jars for canning. You can run them through a short cycle on your dishwasher. You can place them in a large pot (12 quart) of water on top of a steaming rack (so they don't touch the bottom of the pan), and bring the water to a boil for 10 minutes. Or you can rinse out the jars, dry them, and place them, without lids, in a 200°F oven for 10 minutes. Sterilize canning lids by letting them sit in just boiled hot water for a few minutes.
Ingredients you will need![Water]() Water
Water
Equipment you will use![Oven]() Oven
Oven![Frying Pan]() Frying Pan
Frying Pan![Pot]() Pot
Pot
16
11 Ladle jelly into jars and seal: Use a large ladle to pour the jelly into the sterilized jars to 5/8 inch from the top rim of the jar. Seal the top with a canning lid and ring. You will hear a popping noise as a vacuum seal is created as the jars of jelly cool.
Ingredients you will need![Jelly]() Jelly
Jelly
Equipment you will use![Ladle]() Ladle
Ladle
17
If you want to use paraffin wax to seal the jars instead of the canning lids, melt some paraffin in a separate small saucepan.
Equipment you will use![Sauce Pan]() Sauce Pan
Sauce Pan
18
Pour enough melted paraffin over the jelly in the jars to add 1/4-inch layer of wax to the top. The paraffin wax will float to the top, cool, and harden, forming a seal over the jelly as it cools. Note that this method is no longer endorsed by current canning experts because sometimes it doesn't seal perfectly, and mold can get in.
Ingredients you will need![Jelly]() Jelly
Jelly


DifficultyExpert
Ready In45 m.
Servings40
Health Score1
Magazine

Your Inner Chef with Taylor Swift's Top 3 Recipes from Her Beloved NYC Hangout

20 Mouthwatering Recipes You Need to Try Today!

Master the Art of Making Perfect Pancakes with This Foolproof Recipe

The Science Behind Red Wine: Its Surprising Health Benefits and Potential Risks

12 Wine Cocktails for a Sophisticated Twist

Sip, Swirl, and Celebrate: Toasting to National Wine Day on May 25th

National Drink Wine Day on February 18

Celebrating Souffle Day with Delectable Delights

Indulge in the Delightful Flavor of Oyster Soup on Its Special Day!

Celebrating World Nutella Day
10 Tips for Healthier Cooking

Easy Latin American Recipes to Try at Home

How to Make the Perfect Birthday Cake
How to Debone a Chicken

How to Get Started with Healthy Cooking
12 Spring Vegetarian Recipes
15 Tasty Dessert Recipes

20 Best Breakfast Ideas to Enjoy this Spring

12 Healthy Spring Menu Ideas for 2022

Celebrate Spring with 3 Fresh Dishes
20 Mouthwatering Recipes You Need to Try Today!

These Super Recipes for Your Football Party!

Celebrate National Pizza Day on February 9th with Mouthwatering Slices and Fun Facts
Vegetarian soup recipes are not just for vegetarians anymore

Understanding the Science Behind the Keto Diet
Secrets of the Food Pyramid: A Journey Through its Intriguing History
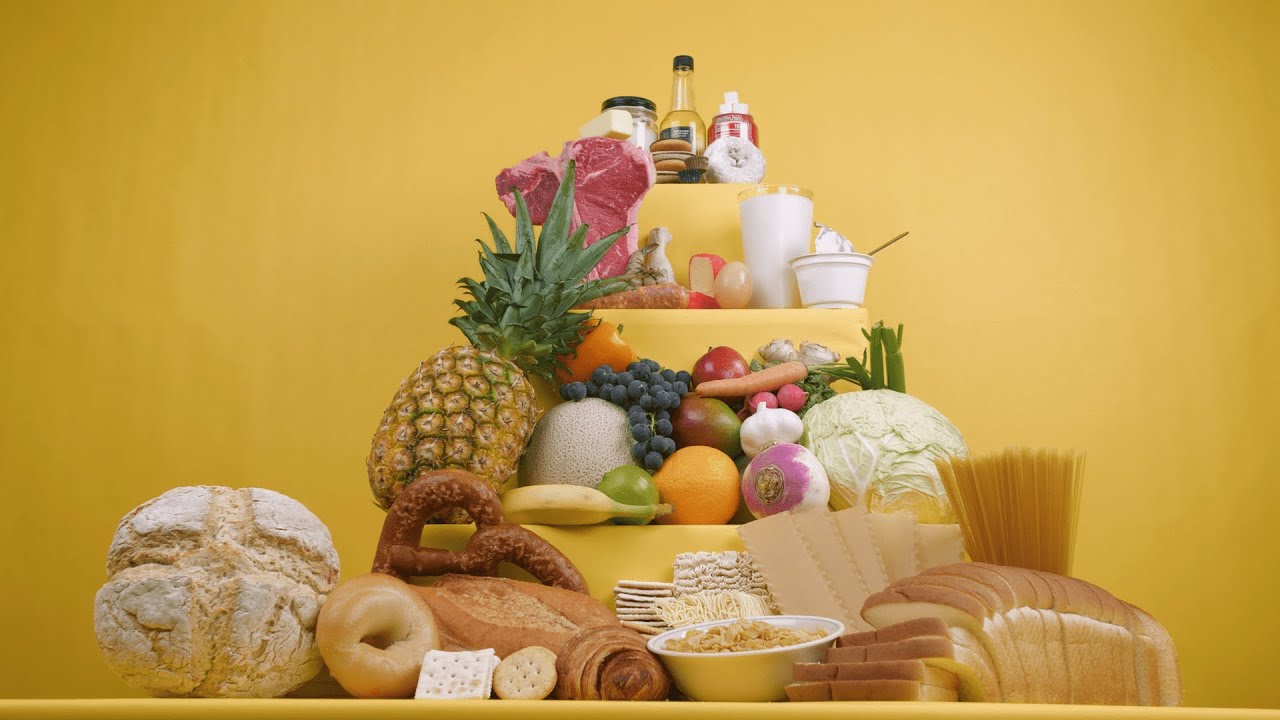
The Future of Nutritionthe New and Improved Food Pyramid

The Rich and Flavorful Black Food Traditions in Netflix's 'High on the Hog'

Vibrant World of South Asian Food Trucks at the Mississauga Festival