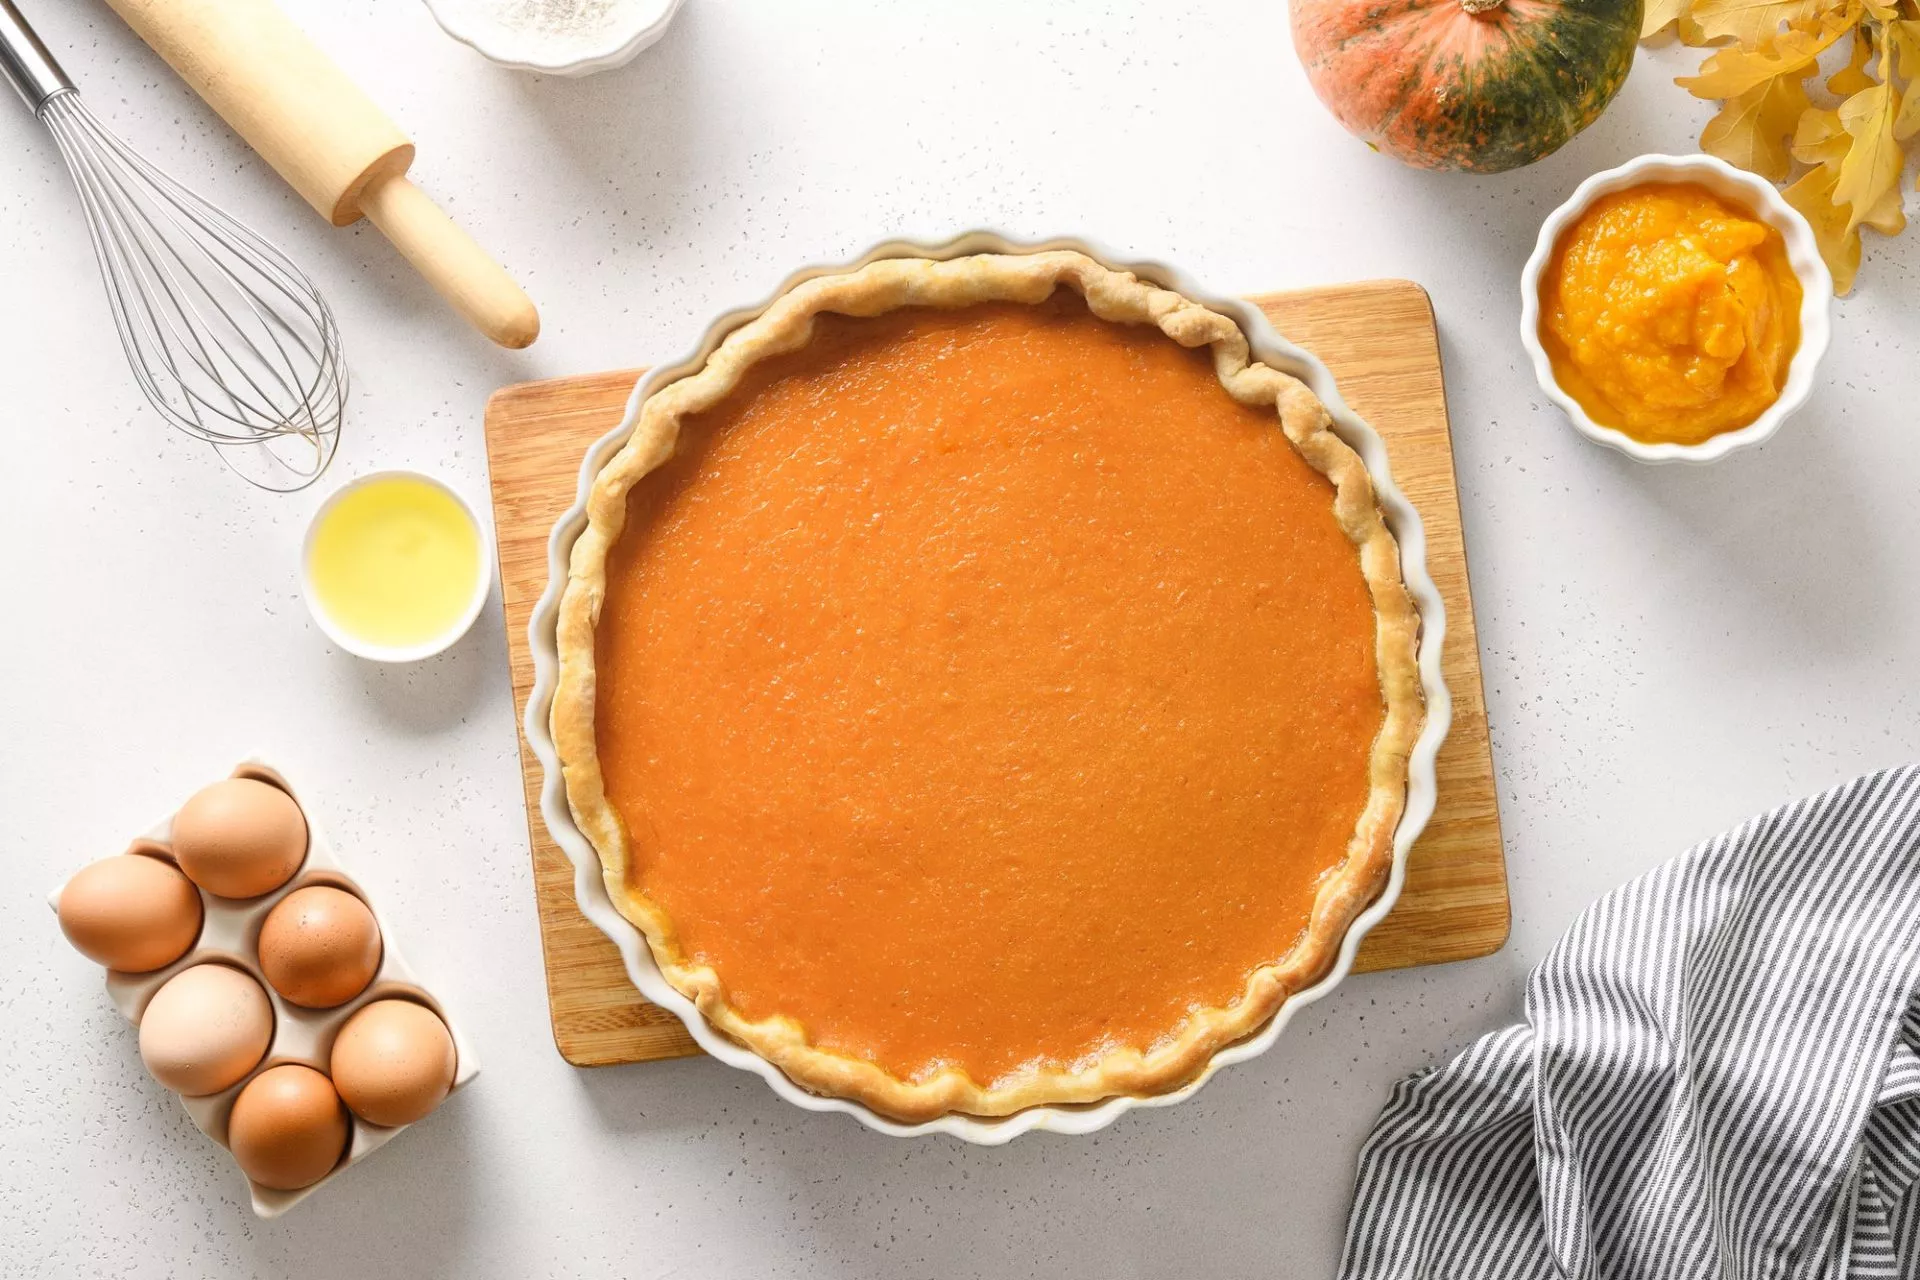
Selecting the Perfect Pumpkin
The best advice we can offer is to think of your pumpkin rather like you would a watermelon. When you are in your local market or shop and want to choose the perfect pumpkin for baking, make sure you have a good look, give it a knock and listen to it! If this beautiful winter squash has a nice, bright orange colour, then that’s a good start. If, on the other hand, it has brown spots or is discoloured, then move on and choose another!
When you can feel if it is nice and solid, and it sounds heavy and hollow when you knock it, then you’re on the right track. Once you’ve selected the perfect specimen, then it’s time to clean and prepare for a great-tasting pie!
To Wash or Not To Wash?
Many people wonder whether you should wash the outside rind of a pumpkin before you start to cut into and take the necessary steps before baking. The simple answer to this favourite question is a resounding yes!
As it will only take a few moments to wash off your carefully selected pumpkin, it makes complete sense to do this. It is really just a question of hygiene and avoiding any dirt or debris entering this dish when you are cutting away the soft orange flesh. The truth is that it is so easy to wash and it avoids worrying about any unwanted bacteria or pollutants and taking away from the pleasure of eating this tasty treat.
The pumpkin has travelled from the farm to the market and has been in contact with various unclean surfaces, so our advice is always to give it a quick wash!
Washing Methods
First of all, it depends on the condition of your pumpkin and how dirty it is. Generally, you’ll need a sponge or a cloth to begin with.
Then, and this is up to you to decide, you may want to use a little detergent and then use clean, warm water. One idea is to use a small washing brush and then place the whole pumpkin in the sink, which will avoid any mess. Of course, this also has the benefit of the thing not rolling off your worktops too!
Pumpkin - The Inside Story!
You will need the following:
- Serrated knife or carving knife
- Ice-cream scoop or small ladle
Now having carefully chosen and washed your pumpkin, it’s time to get to the inside of the matter! It is essential to have the right equipment at this stage. One of the best knives for starting the job is a serrated knife, so you can quickly saw into the hard outside of the pumpkin.
Cut It In Half
Once you have made an incision, we suggest you cut the pumpkin in half and then start scooping out all the seeds and stringy bits. Ideally, you will use an ice-cream scoop, small ladle or even a simple spoon to remove all the guts of the pumpkin.
If you have kids, it may be even more fun to let them get their hands in and scoop it out without using unnecessary utensils. Most children really enjoy the whole process of prepping a pumpkin like this and it really is a nice activity inside or outside the home.
Before you finish, just check whether the pumpkin inside is completely free of seeds and looks and feels smooth.
Baked Pumpkin Seeds
Finally, have fun and don’t forget if you like pumpkin seeds then save them for baking, add a little salt and you have a nice and nutritious snack. Yes, you will have to get your hands sticky but we are sure your children will enjoy helping with this final task!
 How to Caramelize Onions
 How to Cook Brussel Sprouts on a Stove?


