Why make your own potato chips?
There's something undeniably satisfying about making your own potato chips from scratch. Not only do you have complete control over the ingredients and seasonings, but you can also customize them to suit your taste preferences. Store-bought potato chips often come loaded with preservatives and artificial flavors, leaving you longing for a more authentic snacking experience. By making your own potato chips, you can indulge in a guilt-free treat that is free from any unwanted additives. Plus, the process of making homemade potato chips can be a fun and rewarding activity that allows you to showcase your culinary skills. So why settle for mediocre when you can create your own crunchy delights that will leave everyone wanting more?
The art of selecting the perfect potatoes
Selecting the right potatoes is crucial when it comes to making homemade potato chips. Not all potatoes are created equal, and choosing the wrong variety can result in lackluster chips. When it comes to making potato chips, you want to opt for a potato variety that is high in starch and low in moisture. This will ensure that your chips turn out crispy and golden brown. Russet potatoes are a popular choice for making potato chips due to their high starch content and low moisture levels. Yukon Gold potatoes can also be a good option, as they have a creamy texture and hold their shape well during frying. Avoid using waxy potatoes such as red or new potatoes, as they tend to retain moisture and can result in soggy chips. Now that you have a better understanding of potato varieties, let's dive into the step-by-step process of making irresistible homestyle potato chips.
Step 1: Choosing the right equipment and ingredients
Before you embark on your potato chip-making journey, it's important to gather all the necessary equipment and ingredients. Here's what you'll need:
1. Potatoes: As mentioned earlier, opt for a variety that is high in starch and low in moisture, such as Russet or Yukon Gold potatoes. 2. Knife: A sharp knife will make slicing the potatoes much easier and more precise. 3. Mandoline slicer or vegetable peeler: While not necessary, a mandoline slicer or vegetable peeler can help you achieve thin, uniform slices. 4. Large bowl: You'll need a large bowl to soak the sliced potatoes. 5. Paper towels or a clean kitchen towel: This will be used to dry the sliced potatoes before frying. 6. Deep fryer or heavy-bottomed pot: To achieve the perfect crunch, you'll need a deep fryer or a heavy-bottomed pot for frying the potato chips. 7. Cooking oil: Choose an oil with a high smoke point, such as vegetable or peanut oil, for deep frying. 8. Salt and seasonings: Have your favorite seasonings on hand to add flavor to your potato chips. Classic options include sea salt, black pepper, and paprika.
Now that you have all the necessary equipment and ingredients, let's move on to the next step in the process.
Step 2: Preparing the potatoes
To ensure that your potato chips turn out crispy and delicious, it's important to properly prepare the potatoes. Start by washing the potatoes under cold running water to remove any dirt or debris. Once clean, use a sharp knife to remove any blemishes or eyes from the potatoes. You can also choose to peel the potatoes if you prefer your chips without the skin. However, leaving the skin on can add extra flavor and texture to your homemade chips. Once the potatoes are prepped, it's time to move on to slicing them.
Step 3: Slicing the potatoes
Achieving thin, uniform slices is key to making perfectly crispy potato chips. If you have a mandoline slicer, use it to slice the potatoes into thin rounds. Make sure to adjust the thickness setting according to your preference. If you don't have a mandoline slicer, a sharp knife or vegetable peeler will do the trick. Aim for slices that are about 1/8 inch thick, as thinner slices will result in crisper chips. As you slice the potatoes, transfer the slices to a large bowl filled with cold water to prevent them from browning.
Step 4: Soaking the potatoes
Soaking the sliced potatoes is an important step that helps remove excess starch, resulting in crispier chips. Drain the sliced potatoes from the water and transfer them to a large bowl filled with fresh cold water. Let the potatoes soak for at least 30 minutes, or up to an hour for extra crispy chips. This soaking process will not only remove starch but also help prevent the chips from sticking together during frying.
Step 5: Drying the potatoes
After soaking, it's crucial to thoroughly dry the sliced potatoes before frying. Excess moisture can cause the chips to steam instead of achieving that desired crunch. Place the sliced potatoes on a clean kitchen towel or layer them between paper towels. Gently pat them dry to remove any excess water. Allow the potatoes to air dry for about 15 minutes, or until they are completely dry to the touch.
Step 6: Frying the potato chips
Now comes the exciting part - frying the potato chips to crispy perfection. If you have a deep fryer, preheat it to 350°F (175°C). If you're using a heavy-bottomed pot, fill it with enough oil to submerge the potato slices and heat it over medium-high heat until the oil reaches 350°F (175°C). Using a slotted spoon or tongs, carefully lower a small batch of dried potato slices into the hot oil. Be sure not to overcrowd the pot, as this can result in uneven cooking. Fry the chips for about 2-3 minutes, or until they turn golden brown and crispy. Keep a close eye on them to prevent burning. Once the chips are cooked to perfection, remove them from the oil and transfer them to a paper towel-lined plate to drain excess oil. Repeat the process with the remaining potato slices until all the chips are fried.
Step 7: Seasoning the potato chips
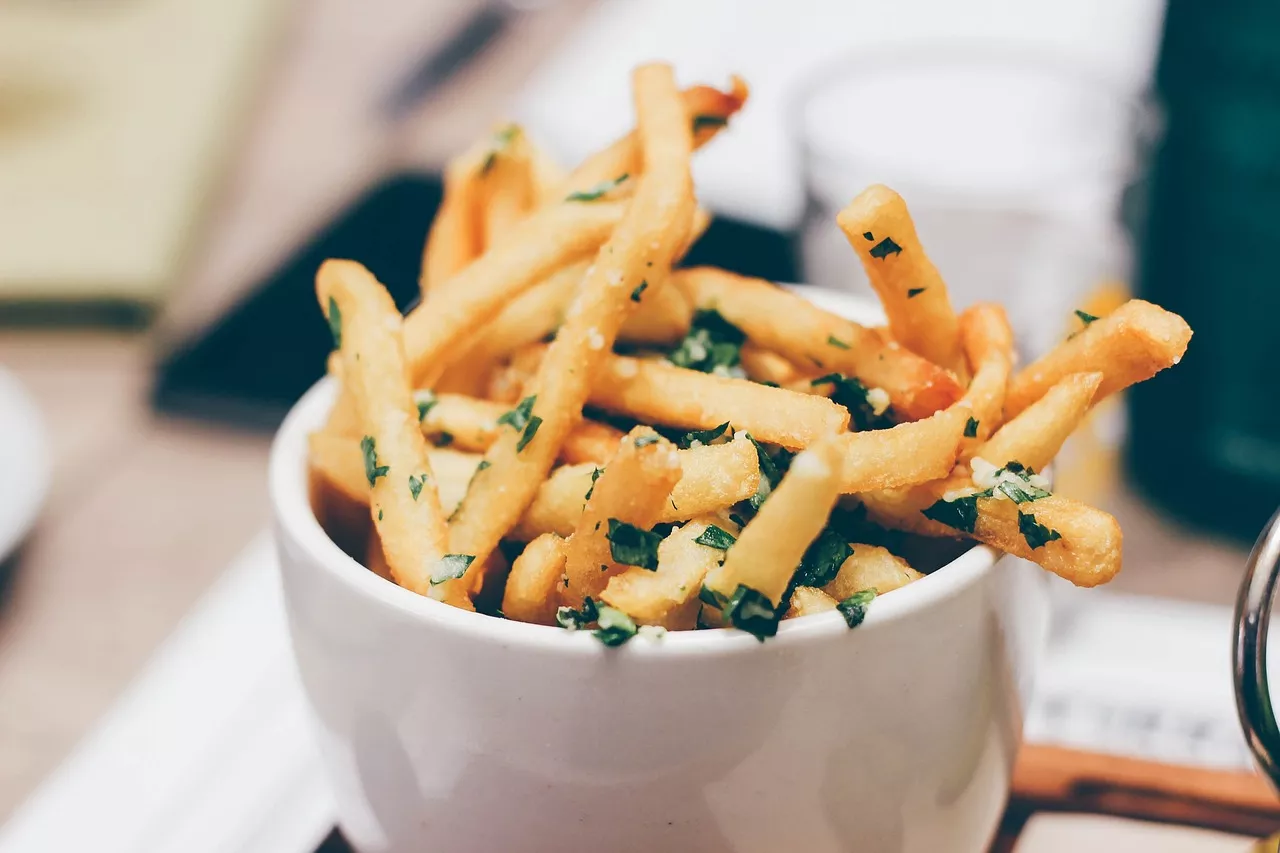
No potato chip is complete without a delicious seasoning. While classic sea salt is always a crowd-pleaser, feel free to get creative with your seasonings. Sprinkle the freshly fried potato chips with your favorite seasonings, such as black pepper, paprika, garlic powder, or even a sprinkle of parmesan cheese. Toss the chips gently to evenly distribute the seasonings. Remember, the seasoning should be added immediately after frying while the chips are still warm. This allows the seasonings to adhere to the chips and infuse them with flavor.
Step 8: Storing and enjoying your homemade potato chips
Now that your homemade potato chips are ready, it's time to store them properly and enjoy the fruits of your labor. Allow the freshly seasoned chips to cool completely before transferring them to an airtight container. This will help preserve their crispiness. Homemade potato chips can be stored at room temperature for up to 2-3 days, but chances are they won't last that long! Serve your crunchy delights as a standalone snack or pair them with your favorite dips or sandwiches for an extra special treat.
Tips for perfecting your potato chip-making skills
If you're looking to take your potato chip-making skills to the next level, here are a few expert tips to help you achieve chip perfection:
1. Fry in small batches: To ensure that your chips cook evenly, fry them in small batches. Overcrowding the pot can result in chips that are undercooked or unevenly browned. 2. Maintain consistent oil temperature: Keep an eye on the oil temperature throughout the frying process. Fluctuating oil temperature can lead to greasy or soggy chips. Adjust the heat as needed to maintain a steady temperature. 3. Experiment with seasoning: Don't be afraid to get creative with your seasonings. Try different combinations of herbs, spices, and even flavored salts to create unique flavor profiles. 4. Store chips properly: To maintain their crunchiness, store the chips in an airtight container away from moisture and humidity. Adding a small piece of bread to the container can help absorb any excess moisture.
Healthier alternatives to traditional frying
While deep frying is the classic method for making potato chips, there are several healthier alternatives worth exploring:
1. Baking: Preheat your oven to 400°F (200°C) and lightly coat the potato slices with olive oil. Arrange them in a single layer on a baking sheet and bake for 15-20 minutes, or until golden brown and crispy. 2. Air frying: If you have an air fryer, you can achieve crispy potato chips with a fraction of the oil. Simply toss the dried potato slices with a small amount of oil and air fry them at 375°F (190°C) for 10-12 minutes, or until crispy.
Conclusion: Embrace the crunchy delight of homemade potato chips
Making your own homestyle potato chips is a rewarding experience that allows you to indulge in a delicious and customizable snack. By following our step-by-step guide, you can achieve the perfect balance of crispy and savory in every bite. From selecting the right potatoes to mastering the art of frying, each stage of the process is crucial in creating irresistible homemade potato chips. So why settle for store-bought when you can savor the crunch and flavor of your very own creations? Grab your apron, sharpen your knife, and let the potato chip-making adventure begin!
 From Tokyo to New York Exploring the Best Japanese Restaurants
 10 Delicious and Easy Recipes the Whole Family Will Love


