Peach Cinnamon Jam
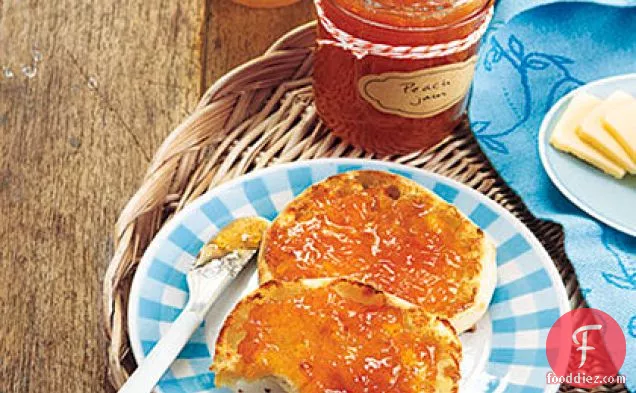
You can never have too many condiment recipes, so give Peach Cinnamon Jam From preparation to the plate, this recipe takes approximately 1 hour and 40 minutes. It is a good option if you're following a gluten free and vegan diet.
Instructions
1
Combine juice and 1 cup water in a wide, heavy-bottom pot. Roughly chop peaches; add to pot. Bring to a boil over medium heat. Reduce heat to low and simmer, stirring occasionally, until peaches are tender and just beginning to break down, 10 to 30 minutes, depending on ripeness. Slightly crush mixture with a masher, leaving some large chunks.
Ingredients you will need![Peach]() Peach
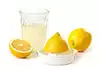
Peach![Juice]() Juice
Juice![Water]() Water
Water
Equipment you will use![Pot]() Pot
Pot
2
Add sugar and cinnamon; cook, stirring constantly, until sugar has dissolved, about 2 minutes. Increase heat to high and boil rapidly, stirring constantly, until thickened and at the gel stage (see below), 20 to 30 minutes. Skim off any foam from the top and discard.
Ingredients you will need![Cinnamon]() Cinnamon
Cinnamon![Sugar]() Sugar
Sugar
1
When preserves hit that magical jammy consistency--spreadable but not runny--it's considered the gel stage. Jam sets at 220F. Use a candy thermometer or these visual cues.
Ingredients you will need![Jam]() Jam
Jam![Candy]() Candy
Candy
Equipment you will use![Candy Thermometer]() Candy Thermometer
Candy Thermometer
2
Watch the jam as it cooks. Bubbles will increase in size as the gel stage nears.
Ingredients you will need![Jam]() Jam
Jam
1
Don't be intimidated: Getting the right seal to keep food fresh is as easy as boiling water.
Ingredients you will need![Water]() Water
Water
3
Put the rack in a large pot. Arrange empty jars, open side up, in a single layer. (Arrange a full layer, even if you are planning to use only a few, to keep jars from tipping over.)
Equipment you will use![Pot]() Pot
Pot
4
Add cold water to the pot until there is at least 2 inches of water above the jars' rims. Set the pot over high heat, cover it and bring water to a boil. Put lids, white side down, in a large bowl.
Ingredients you will need![Water]() Water
Water
Equipment you will use![Bowl]() Bowl
Bowl![Pot]() Pot
Pot
5
Step Prepare recipe as directed up until the ladling step (keep hot until ready to place in jars). Reduce heat under the pot so water is hot but not boiling.
Ingredients you will need![Water]() Water
Water
Equipment you will use![Pot]() Pot
Pot
6
Step Using canning tongs, remove a jar of hot water from the pot.
Ingredients you will need![Water]() Water
Water
Equipment you will use![Tongs]() Tongs
Tongs![Pot]() Pot
Pot
7
Pour it over the lids in the bowl. Set the jar on a clean kitchen towel.
Equipment you will use![Kitchen Towels]() Kitchen Towels
Kitchen Towels![Bowl]() Bowl
Bowl
8
Remove 2 more jars, pouring the water back into the pot, and set them on the towel.
Ingredients you will need![Water]() Water
Water
Equipment you will use![Pot]() Pot
Pot
9
Step Insert the funnel into the first jar. Carefully ladle the hot food into the funnel, keeping the headspace--the distance from the top of the mixture to the top of the jar--indicated in the recipe.
Equipment you will use![Funnel]() Funnel
Funnel![Ladle]() Ladle
Ladle
10
Step Swipe a bubble tool between the mixture and the inside of the jar to release any air bubbles, adding more of the mixture if necessary to achieve the proper headspace. Repeat with remaining food and jars.
11
Step Use a clean kitchen towel dipped in hot water to carefully clean the rim of each jar. Use soft-tipped tongs, a lid lifter or your fingers to retrieve a lid from the bowl and center it on the jar. Screw the ring on the jar with your fingertips, taking care to make it tight enough to stay centered but not so tight that you won't get a vacuum seal. Repeat until you have filled the jars.
Ingredients you will need![Water]() Water
Water
Equipment you will use![Kitchen Towels]() Kitchen Towels
Kitchen Towels![Tongs]() Tongs
Tongs![Bowl]() Bowl
Bowl
12
Step Use canning tongs to lower filled jars into hot water. Be sure jars are covered by 2 inches of water. Cover the pot and return to a boil. Begin counting your processing time when the water is boiling. When the time is up, turn off heat, remove pot lid and allow the jars to rest for 5 minutes.
Ingredients you will need![Water]() Water
Water
Equipment you will use![Tongs]() Tongs
Tongs![Pot]() Pot
Pot


DifficultyExpert
Ready In1 h, 40 m.
Servings30
Health Score0
Related recipes
Grilled Beef Tenderloin with Golden Beet and Blue Cheese Puree
Ranch Dressing I
Potato Minestrone
Slow Cooker Calico Beans
Magazine

Your Inner Chef with Taylor Swift's Top 3 Recipes from Her Beloved NYC Hangout

20 Mouthwatering Recipes You Need to Try Today!

Master the Art of Making Perfect Pancakes with This Foolproof Recipe

The Science Behind Red Wine: Its Surprising Health Benefits and Potential Risks

12 Wine Cocktails for a Sophisticated Twist

Sip, Swirl, and Celebrate: Toasting to National Wine Day on May 25th

National Drink Wine Day on February 18

Celebrating Souffle Day with Delectable Delights

Indulge in the Delightful Flavor of Oyster Soup on Its Special Day!

Celebrating World Nutella Day

23 Spinach Recipes You'll Want to Eat Every Day

8 Watermelon Recipes You'll Crave
10 Ways to Use Leftover Eggplant

All You Need to Know about Traditional Vietnamese Food
Nine Traditional Korean Foods You Should Try
Getting to Know Traditional Spanish Cuisine
How to Cook Cabbage

How to Cook Cucumbers

How to Cook Eggplants

How to Cook Kale
Your Inner Chef with Taylor Swift's Top 3 Recipes from Her Beloved NYC Hangout
20 Mouthwatering Recipes You Need to Try Today!

These Super Recipes for Your Football Party!

Celebrate National Pizza Day on February 9th with Mouthwatering Slices and Fun Facts
Vegetarian soup recipes are not just for vegetarians anymore

Understanding the Science Behind the Keto Diet
Secrets of the Food Pyramid: A Journey Through its Intriguing History
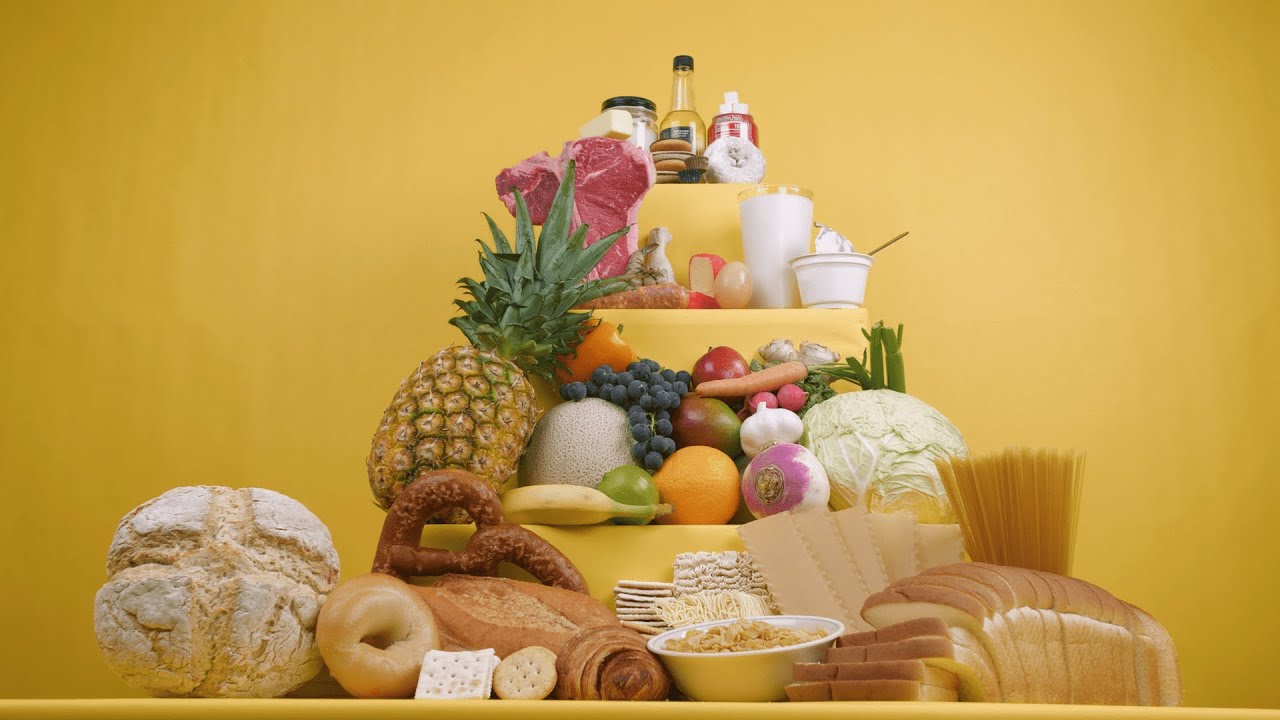
The Future of Nutritionthe New and Improved Food Pyramid

The Rich and Flavorful Black Food Traditions in Netflix's 'High on the Hog'